This has to be one of the easiest projects I’ve undertaken and I love the impact it has on my mantle. I could just see it in my head, but you know how that goes– seems simple, but ends up being much more complicated? Not this one.
Just a few materials needed:
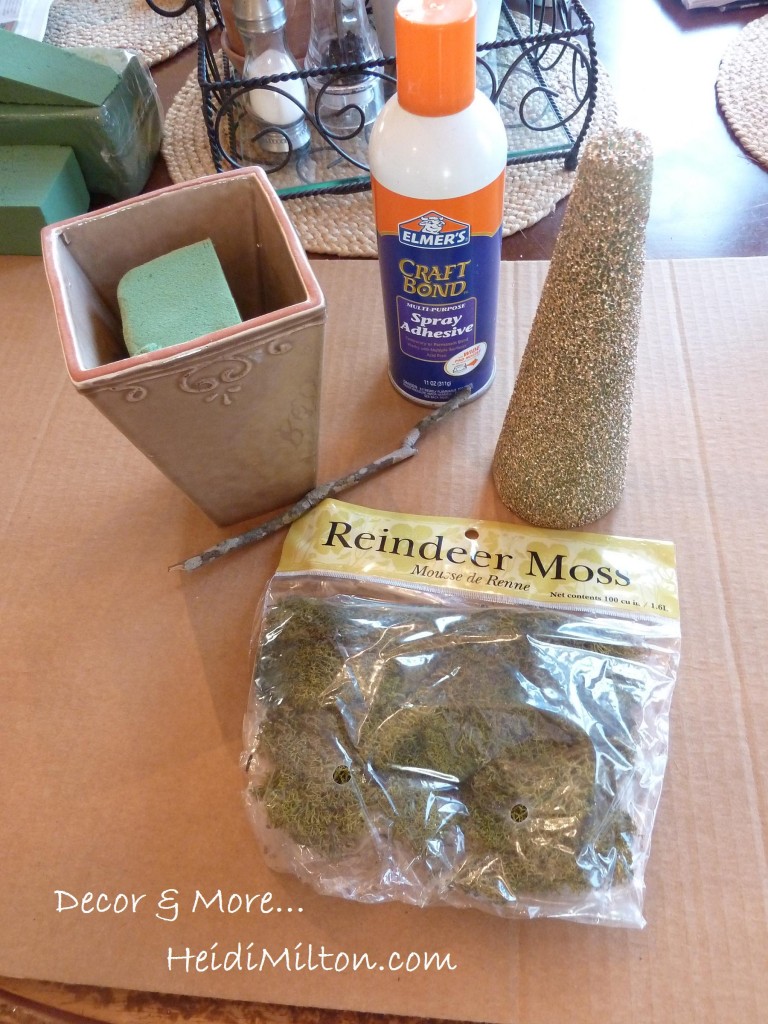 The planter is a discontinued Willow House product that’s been sitting in my basement after being overlooked in my sample sale. Lucky me. 🙂 I spraypainted the cone before Christmas, thinking I was going to use it for a different project but that fell to the wayside. The stick came right out of my yard, post-storm.
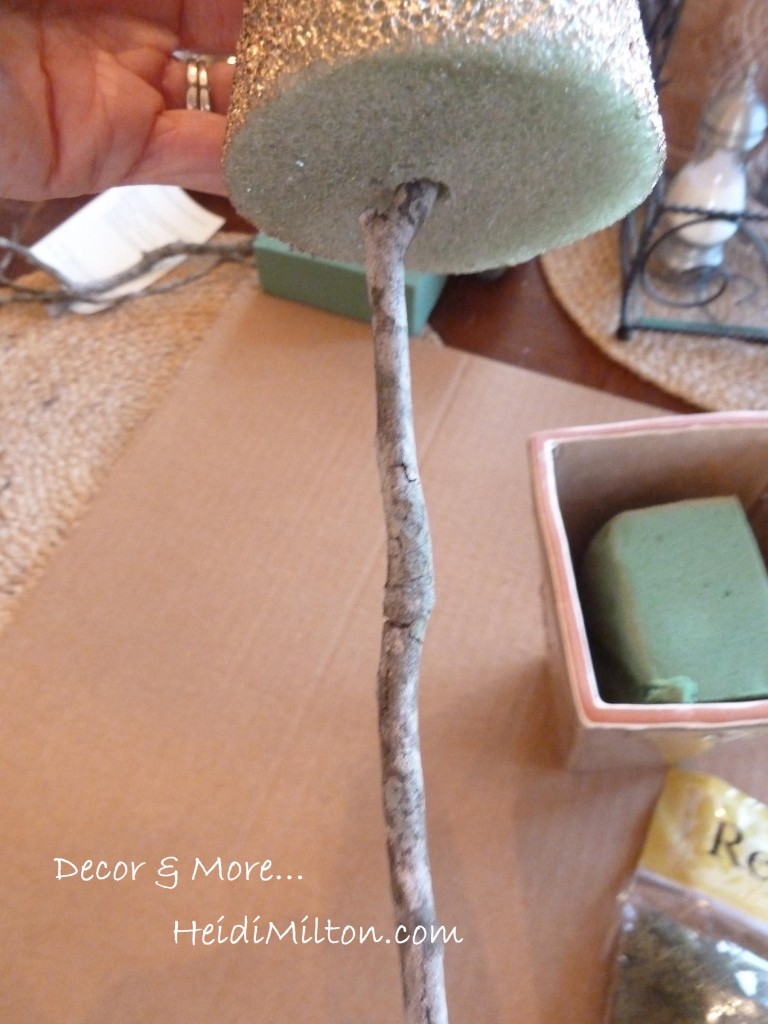 Simply insert the stick into the bottom of your cone. I had to play with this a bit, since the stick isn’t perfectly straight. I could have used a dowel, I guess, but I really wanted the texture and colors of the stick. 🙂
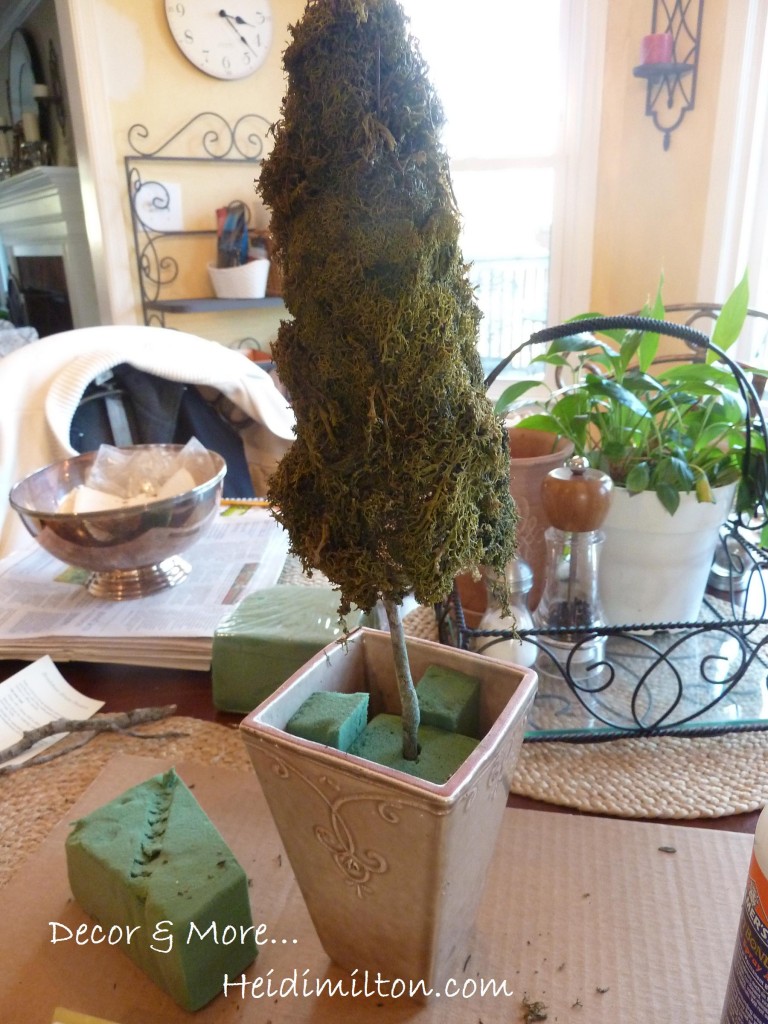
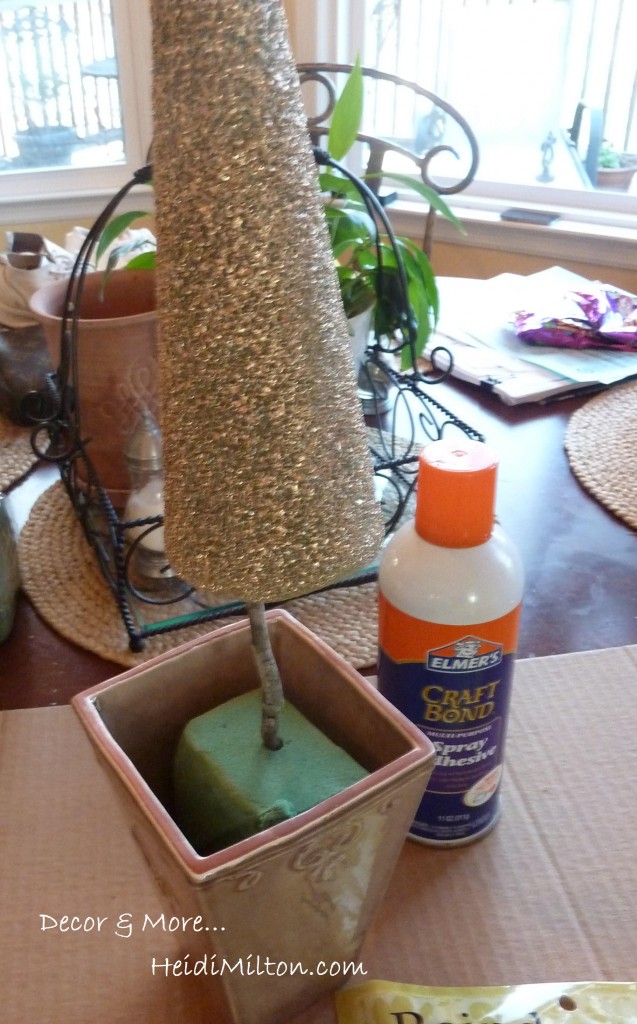 Insert your stick + cone into florists foam in the bottom of your planter. Since my planter has a tapers to a narrower bottom, I had to brace my foam with additional pieces.
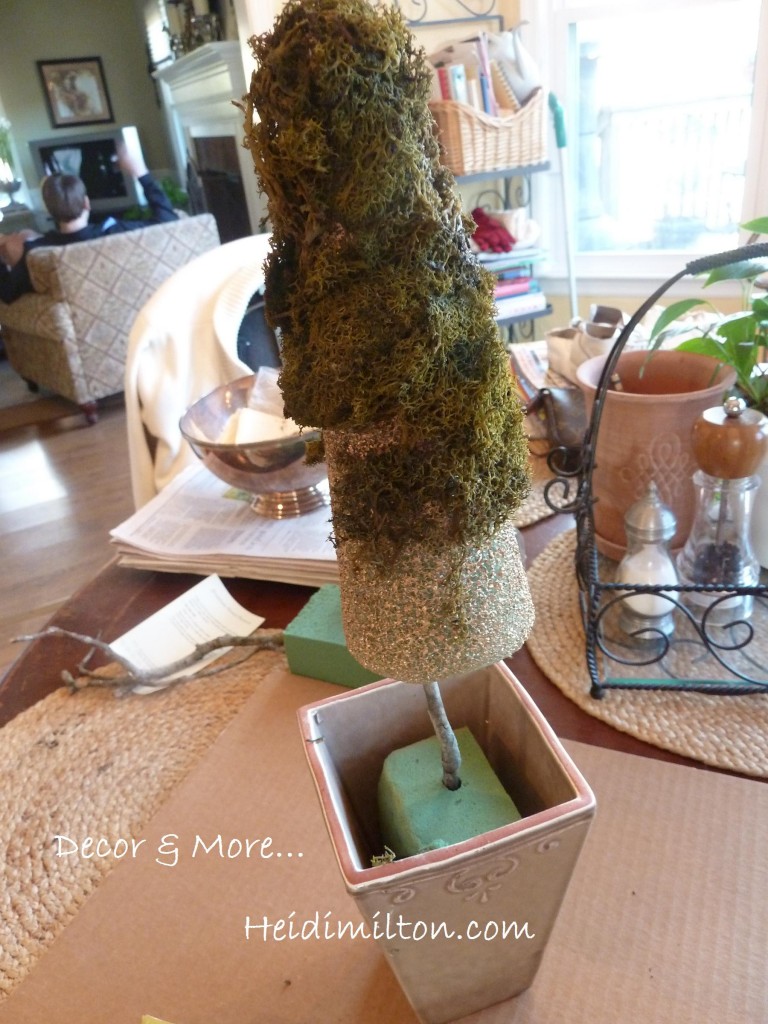 Working in small sections, I sprayed my adhesive onto the cone and pressed the moss into place. It takes a little patience, but is really very easy to do. See one of my Y Chromosomes parked in front of the telly? Glimpse into my world during vacation. 🙂 Not to mention the mess on my kitchen table.
Keep on going until you’ve completely covered the cone, including the bottom. You can see here how I braced my florists foam.
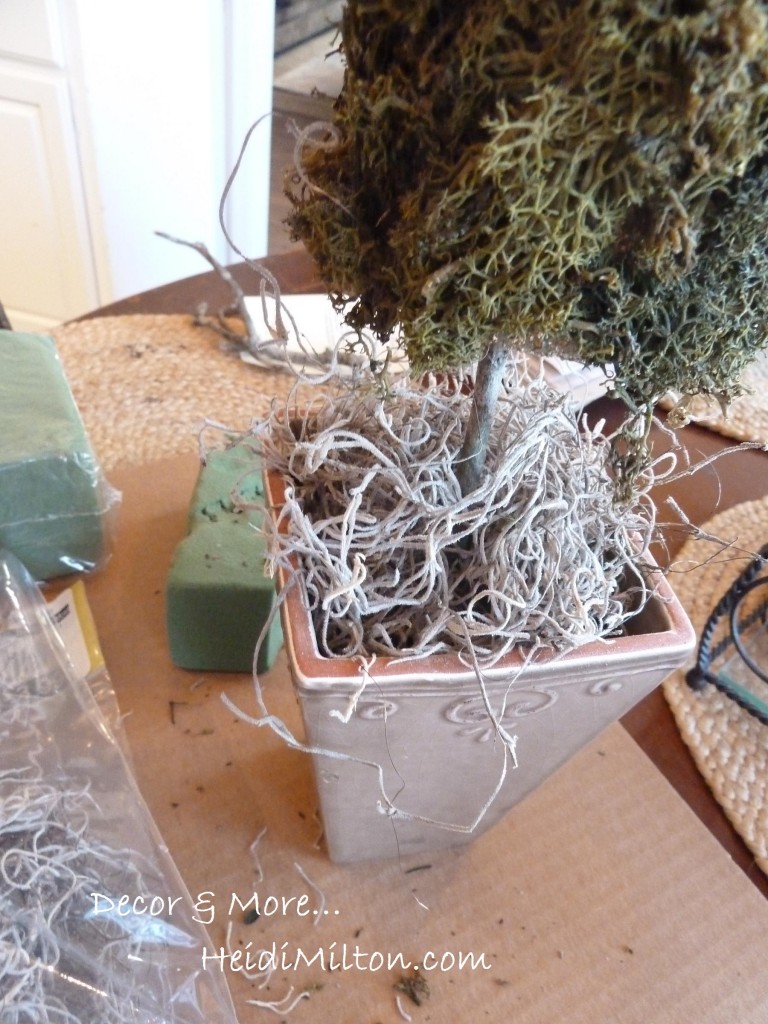
Gray spanish moss covers the florists foam and adds yet another texture.
I think this project took me 20 minutes, start to finish. I’m planning to attempt an larger one soon, so I’ll let you know how that goes!
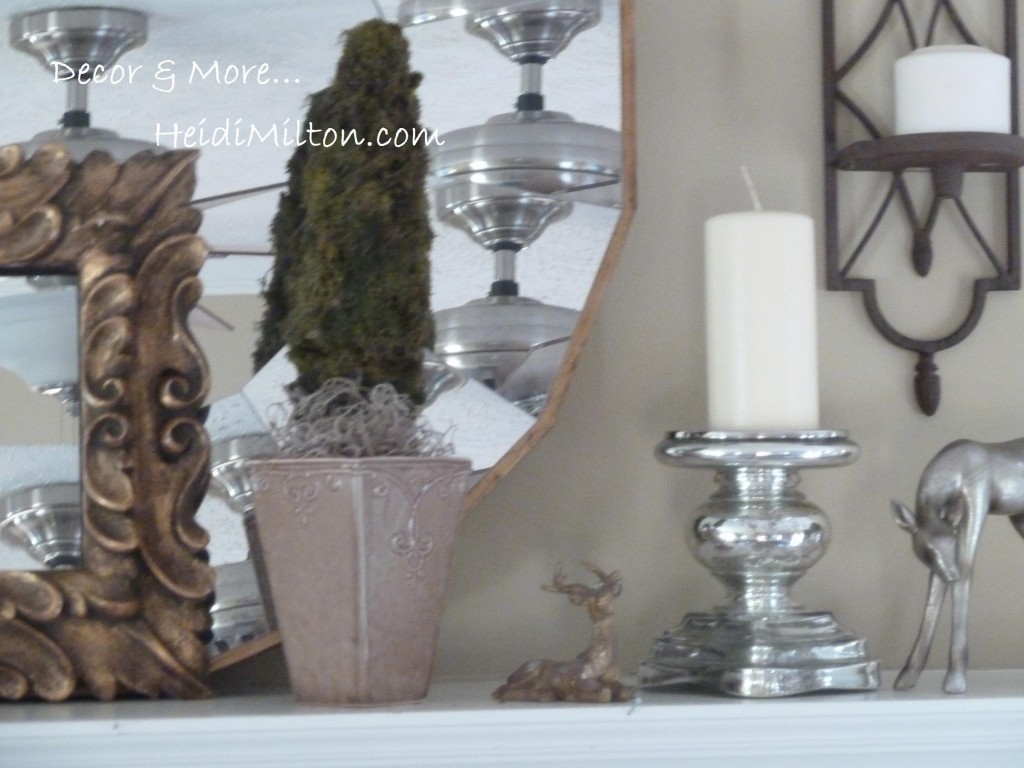
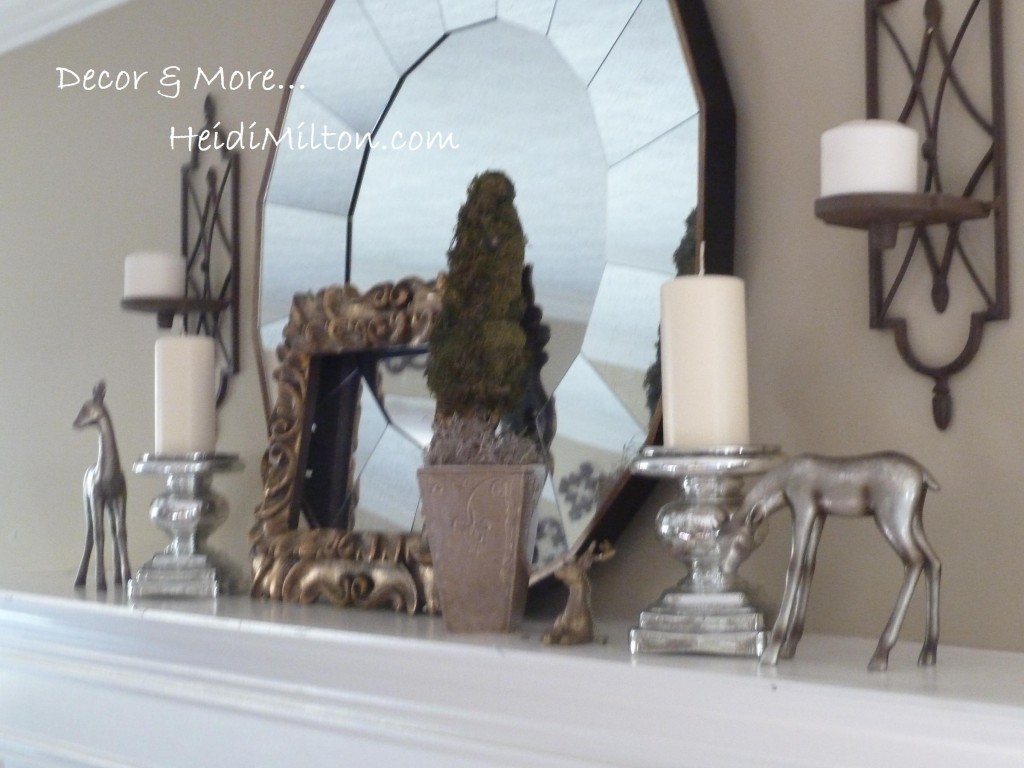
Here she is in all her glory…
What’s your latest DIY project? I’d love to hear!!
Sharing here…



I love moss topiaries! I think they are the best way to get some green in your space without it being fresh. I’ll have to try this on my new mantel (if we can ever get it in – the install stage for my media area has been dragging for a couple of weeks). Also, Heidi, I’m adding you to my blogroll. Have a great week!! M.
Nice! I have been wanting to do a moss B but Joann’s has been out of the giant letter B.
Great post! Great tip on spray painting the form before gluing moss (I had to learn the hard way….LOL!)
blessings,
karianne
So lovely, Heidi!! Something I really want to keep in mind…, since I have no green thumb and not a single plant in my house. This could be a great “green” alternative!!! With some shells incorporated somewhere (of course).
Very cute!!!! I love topiaries but they can be so expensive, and this is a great diy one! Love it!
I love topiaries- this one is darling too! Come share it at Feathered Nest Friday at my blog sometime~going on all weekend!
So cute, Heidi! I love how natural and lovely this is! Thanks for sharing!!
Heidi,
I loved this the first time I saw it. I would absolutely love it if you would link this up to our “impossibles” party! Here’s the link:
http://thistlewoodfarm.wordpress.com/2012/01/31/a-journey-of-1000-steps/
Thanks for the inspiration (and the sweet comment on my blog)!
blessings,
karianne